Werbung
Quicklinks
Bauanleitung
D
Notice de construction
F
Building instructions
GB
Instruzioni di montaggio
I
Instrucciones de montaje 32 ... 37
E
Ersatzteile
Replacement parts
Pièces de rechanges
Parti di ricambio
Repuestos
© Copyright by MULTIPLEX 2008
vorgesehen für den MULTIPLEX
Brushless-Antrieb # 33 2638
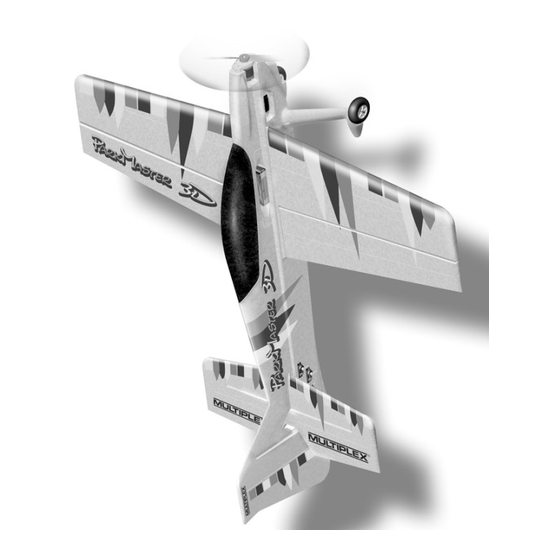
BK / KIT ParkMaster
# 21 4231
3 ... 8
9 ... 14
15 ... 25
26 ... 31
38 ... 39
Version 1.0
1
Werbung

Verwandte Anleitungen für Multiplex ParkMaster


Inhaltszusammenfassung für Multiplex ParkMaster
- Seite 1 MULTIPLEX Brushless-Antrieb # 33 2638 BK / KIT ParkMaster # 21 4231 Bauanleitung 3 ... 8 Notice de construction 9 ... 14 Building instructions 15 ... 25 Instruzioni di montaggio 26 ... 31 Instrucciones de montaje 32 ... 37 38 ...
- Seite 2 Even though the model is called the “ParkMaster 3D”, you can only fly in the park if model flying is expressly permitted there.
- Seite 3 1. Before assembling the model Place both undercarriage supports 37 over the wire unit 13 as Check the contents of your kit before you start working on it. shown, slip this assembly into the fuselage from the side, and You will find Figs. 1 + 2 and the Parts List helpful here. glue it in place carefully.
- Seite 4 Attach the rudder 10 to the fin using the hinges 22. inverted. If you now have to apply a great deal of “down” to hold Fig. 30 level flight, the model is nose-heavy; the CG must be shifted further aft. If the machine climbs whilst inverted, without requiring 13.
- Seite 5 We - the MULTIPLEX team - hope you have many hours of pleasure building and flying your new model. MULTIPLEX Modellsport GmbH & Co. KG...
- Seite 6 The basics of flying - using a model aircraft as an example Any aircraft - full-size or model - can be controlled around three primary axes: the vertical (yaw) axis, the lateral (pitch) axis and the longitudinal (roll) axis. Operating the elevator produces a change in the model’s flight attitude around the lateral axis (nose up or down).
- Seite 7 Abb. 1 29 30 Abb. 2...
- Seite 8 Abb. 4 Abb. 3 25 26 Abb. 6 Abb. 5 24 26 Abb. 8 Abb. 7 Abb. 9 Abb. 10...
- Seite 9 Abb. 12 Abb. 12 Abb. 11 24 mm Abb. 13 Abb. 14 Abb. 16 Abb. 15 Abb. 17 Abb. 18...
- Seite 10 Abb. 20 Abb. 19 5 mm Abb. 22 Abb. 21 4x22 Abb. 24 Abb. 23 1-1,5 mm 1-1,5 mm 4x22 Abb. 25 Abb. 26...
- Seite 11 3te/3rd Abb. 27 Abb. 28 4x22 Abb. 29 Abb. 30 Antriebssatz / Powerset # 33 2638 2x34 4x33 32 Abb. 32 Abb. 31 2x Nano Karbonite Akku Motor 110 - 2x Nano RX 6 120 mm Karbonite Abb. 33 Abb. 34...
- Seite 12 Ersatzteile (bitte bei Ihrem Fachhändler bestellen) Replacement parts (please order from your model shop) Pièces de rechanges (S.V.P. à ne commander que chez votre revendeur) Parti di ricambio (da ordinare presso il rivenditore) Repuestos (por favor, diríjase a su distribuidor) # 22 4132 Rumpf mit Fahrwerksverkleidungen Fuselage and undercarriage fairings...
- Seite 13 Ersatzteile (bitte bei Ihrem Fachhändler bestellen) Replacement parts (please order from your model shop) Pièces de rechanges (S.V.P. à ne commander que chez votre revendeur) Parti di ricambio (da ordinare presso il rivenditore) Repuestos (por favor, diríjase a su distribuidor) # 22 4136 Draht- und Holmsatz Wire and spar se...
- Seite 14 MULTIPLEX Modellsport GmbH & Co.KG Westliche Gewerbestrasse D-75015 Bretten Gölshausen www.multiplex-rc.de...