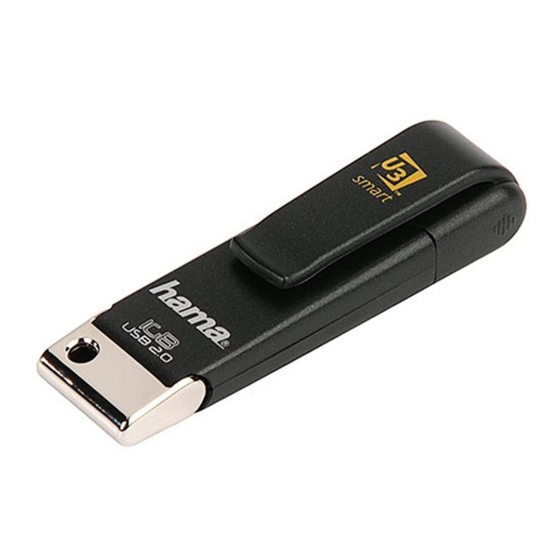
Inhaltszusammenfassung für Hama Mini U3
- Seite 1 Hama GmbH & Co KG Postfach 80 86651 Monheim/Germany Tel. +49 (0)9091/502-0 Fax +49 (0)9091/502-274 hama@hama.de www.hama.de 00055465-02.06 Downloaded from www.Manualslib.com manuals search engine...
- Seite 2 FlashPen Mini U3 Downloaded from www.Manualslib.com manuals search engine...
-
Seite 3: Installation
Bedienungsanleitung Achtung: Der Hama FlashPen Mini U3 darf niemals von dem Computer oder Notebook ge- trennt werden solange noch ein Datentransfer stattfi ndet ! Ein Datenverlust wäre dann nicht auszuschließen. Bitte beachten Sie hierzu die Hinweise in dieser Kurzanleitung. - Seite 4 Für detaillierte Information klicken Sie bitte auf Hilfe und Unterstützung oder wen- den Sie sich an unsere technische Produktberatung unter http://u3.hama.com Zum Entfernen des Hama FlashPen Mini U3 klicken Sie auf des U3-Symbol in der Systray (rechts unten neben der Windows Uhr) und danach auf Auswerfen rechts unten im U3-Launchpad.
- Seite 5 * Hama U3 SYS * My U3 Drive The Hama U3 SYS drive is a read-only partition. Data cannot be deleted or stored. The U3 software required for operation is located in this partition. Under My U3 Drive, you can manage, store and of course delete your data, just as with a usual USB storage medium.
- Seite 6 For detailed information, please click Help and Support or contact our technical product hotline at http://u3.hama.com In order to disconnect the Hama FlashPen Mini U3, click the U3 symbol in the system tray (on the right, below the Windows clock) and then click Eject, below on the right in the U3 Launchpad.
- Seite 7 ¬ Consignes d‘utilisation Attention : Ne déconnectez jamais le FlashPen Mini U3 de Hama de votre PC ou de votre ordinateur portable pendant le transfert des données! Cela pourrait occasionner la perte des données. Veuillez observer les indications mentionnées dans ce petit manuel d´utilisation.
- Seite 8 à notre service technique conseillant sur les produ- its sous http://u3.hama.com Pour enlevez le Hama FlashPen Mini U3, cliquez sur le symbole U3 dans le Systray (à droite, en bas, à côté de l´horloge de Windows) puis sur Jeter à droite, en bas dans le U3 Launchpad.


