Werbung
Verfügbare Sprachen
Verfügbare Sprachen
Quicklinks
USER MANUAL
Hereby, MOB, declares that item MO9456 is in Compliance with
the essential requirements and other relevant conditions of
Directive 2014/30/EU. A copy of the DOC (Declaration of
Conformity) is available at: DOC@reclamond.com or
MOB, PO BOX 644, 6710 BP (NL).
PO: 41-XXXXXX
Made in China
Werbung

Inhaltszusammenfassung für MOB MO9456
- Seite 1 USER MANUAL Hereby, MOB, declares that item MO9456 is in Compliance with the essential requirements and other relevant conditions of Directive 2014/30/EU. A copy of the DOC (Declaration of Conformity) is available at: DOC@reclamond.com or MOB, PO BOX 644, 6710 BP (NL).
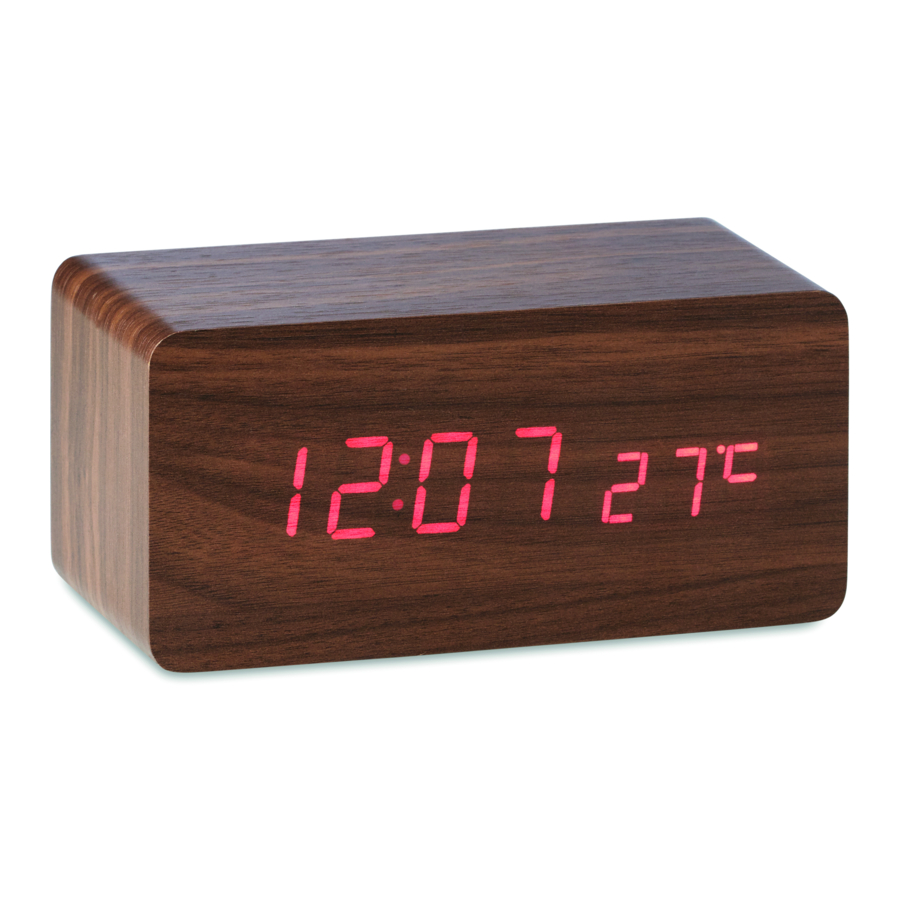
- Seite 2 MO9456 Weather station with charger Feature • Display: Three MODES • Mode 1 : Display time, temperature and date • Mode 2 : Display time and temperature only • Mode 3 : Display time only • 12 / 24 hour time format (initial setting:12 hour) •...
- Seite 3 Important Note • For the AAA batteries, we suggest using alkaline batteries. Please replace batteries if low battery mode is shown. Precaution! • Metal objects placed on top of charging devices might result in malfunction or over heating and damage the charging device. •...
- Seite 4 blinkt, durch Drücken der UP&DOWN Taste stellen Sie die gewünschte Minute ein. • Im Datum-Modus drücken Sie die „Set“ Taste 2 Sekunden lang um Jahr, Monat und Tag einzustellen. Durch Drücken der UP&DOWN Taste stellen Sie die gewünschten Daten ein •...
- Seite 5 • Format 12 / 24 heures (réglage initial:12 heures) • Mode d’alarme: 3 groupes d’alarmes, Réveil avec “Bip“ pendant 1 minute. • Puissance : Batterie DC5V / 2000mA / AAA Spécifications du produit: Tension d’entrée: DC5V / 2A Puissance: Tension de charge: Réglages •...
- Seite 6 produit. • N'utilisez pas le produit à proximité d'une surface métallique (table, plaque) • Le produit n’est pas étanche, ni résistant à l’eau • Ce produit n’est pas un jouet, le garder hors de portée des enfants. Estación meteorológica con cargador Características •...
- Seite 7 (2/3), pulse ARRIBA para iniciar la alarma, aparecerán los símbolos A1 (2/3) y AL, luego cambie al modo de alarma automáticamente. Mantenga pulsado el botón SET 2 segundos en Configuración de alarma, ajústelo pulsando el botón ARRIBA y ABAJO. • Carga inalámbrica: conecte la fuente de alimentación del cable USB, coloque su teléfono móvil en la parte superior del reloj (en el logotipo de carga inalámbrica) Nota importante...
- Seite 8 Alimentazione in uso: 10W Voltaggio: Impostazioni: • Premere SET per 2 secondi per accedere alla modalità di impostazione: Regolare il formato 12/24 ore premendo il pulsante SU e GIÙ. • Premere SET nella regolazione dell'ora, il display dell'ora lampeggerà e sarà possibile impostare l'ora premendo il pulsante SU e GIÙ.
- Seite 9 Wekker met oplader Eigenschappen: • Scherm: Drie standen. • Stand 1: Geef tijd, temperatuur en datum weer • Stand 2: Geef tijd en temperatuur weer • Mode 3: Geef tijd weer • 12/ 24 uursweergave (standaard ingesteld as 12 uur) •...
- Seite 10 BELANGRIJK • We raden aan AAA, alkaline batterijen te gebruiken. Vervang ze op tijd als de batterij-indicator zichtbaar is. Opgelet! • Metalen objecten bovenop te laden apparaten kunnen zorgen voor fouten, oververhitting en beschadiging van het apparaat. • Gebruik het apparaat niet nabij metalen platen, tafels of oppervlaktes.
- Seite 11 zacznie migać minuta, możesz ustawić minuty, naciskając przycisk UP i DOWN. • Tryb daty, długie naciśnięcie przycisku SET 2 sekundy do ustawienia roku, miesiąca i daty, a następnie dostosowanie za pomocą przycisku W GÓRĘ i W DÓŁ. • Tryb alarmowy, domyślny wyświetlacz A1 (2/3), naciśnij GÓRA, aby uruchomić...


