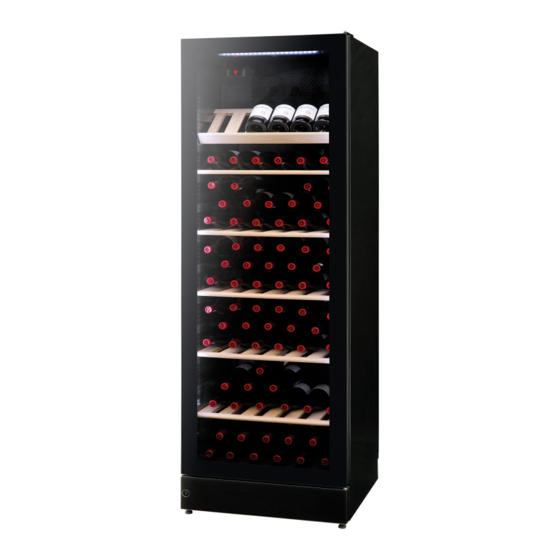
Nordcap WG 185 Aufbauanleitung
Weintemperierschrank
Vorschau ausblenden
Andere Handbücher für WG 185:
- Bedienungsanweisung (72 Seiten) ,
- Bedienungsanweisung (32 Seiten)
Inhaltsverzeichnis
Werbung
Verfügbare Sprachen
Verfügbare Sprachen
Quicklinks
Werbung
Inhaltsverzeichnis

Verwandte Anleitungen für Nordcap WG 185


Inhaltszusammenfassung für Nordcap WG 185
- Seite 1 Aufbauanleitung Weintemperierschrank WG 185 [Art. 477700185] 2018-05...
-
Seite 2: Electrical Connection
Reserving the right to alter specifications without prior notice. 9193215 rev 06 Installation and start-up Electrical connection Placement Wiring and connections in power supply systems must been all applicable (local and For safety and operational reasons, the ap- national) electrical codes. Consult these pliance must not be installed outdoors. - Seite 3 Installation The surface on which the appliance is to be placed must be level. Do not use a frame or similar. The appliance can be installed as a free- standing unit against a wall, built into a closet or lined up with other appliances. It is important that the appliance be well ventilated and that air can circulate unhin- dered above, below and around it.
- Seite 4 The distance pieces on the rear of the ap- pliance ensure sufficient air circulation. Fit the two caps supplied with the appliance as shown in fig.6. Max. 85 kg. fig. 8 fig. 6 Setting up It is important that the appliance be abso- lutely level.
-
Seite 5: Elektrischer Anschluss
Recht auf Änderungen vorbehalten. 9193215 rev 06 Elektrischer Anschluss Inbetriebnahme und Installation Verkabelung und Anschlüsse in Stromver- sorgungssystemen müssen allen (örtlichen Aufstellort und nationalen) Elektrovorschriften entspre- chen. Machen Sie sich vor dem Einbau mit Aus Sicherheits- und betriebstechnischen den Angaben in diesen Vorschriften vertraut Gründen darf das Gerät nicht im Freien aufgestellt werden. - Seite 6 Installation Die Unterlage zum Aufstellen des Schranks muss eben sein. Verwenden Sie keinen Rahmen o.ä. Der Schrank kann frei an einer Wand stehen, in ein Schrank eingebaut werden oder neben anderen Schränken aufgestellt werden Der Schrank muss ausreichend belüftet sein, und die Luftzirkulation über und unter ihm sowie seitlich vom Schrank darf nicht behindert sein.
-
Seite 7: Belüftung
Belüftung Die Abstandsstücke auf der Rückseite des Schranks sichern die erforderliche Luftzirku- lation. Die beiden Abdeckungen montieren, die zusammen mit dem Schrank mitgeliefert Max. 85 kg. werden (siehe Abb. 6) (Zwei verschiedene Modelle) Abb. 8 Abb 6 Aufstellung Der Schrank muss waagerecht stehen. Der Schrank kann durch Drehen der einstellba- ren Füße ausgerichtet werden (siehe Abb. -
Seite 8: Tekniske Data
Ret til ændringer forbeholdes. 9193215 rev 06 Tekniske data Ibrugtagning og instal- lation Denne enhed overholder de relevante EU- direktiver, herunder Lavspændingsdirektivet 2014/35/EU - Elektromagnetisk kompatibi- Placering litet direktiv 2014/30/EU Af sikkerhedsmæssige og driftsmæssige grunde må apparatet ikke placeres uden- Typeskiltet, fig. - Seite 9 Installation Underlaget hvorpå skabet opstilles skal være plant. Brug ikke en ramme eller lignende. Skabet kan stå frit op ad en væg, bygges ind i et køkkenelement eller stå side om side med andre skabe. Ventilation Det er vigtigt, at skabet får tilstrækkelig ventilation og at der er uhindret luftcirkulation over, under og omkring det.
- Seite 10 Afstandsstykkerne på skabets bagside sik- rer den nødvendige luftcirkulation. Monter de to afdækninger som følger med skabet (se fig. 6) Max. 85 kg. fig. 8 fig. 6 Opstilling Det er vigtigt, at skabet står helt lige. Man kan justere skabet ved at dreje de stil- bare fødder i front op eller ned (se figur 7).
-
Seite 11: Caracteristiques Techniques
Nous nous réservons le droit d’apporter toutes modifications à nos produits 9193215 rev 06 Caracteristiques Mise en service et techniques installation Le câblage et les raccordements électriques Pour des raisons de sécurité et de fonction- des systèmes d’alimentation électrique nement, l’appareil ne doit pas être placé à doivent respecter les normes électriques l’extérieur. - Seite 12 Installation La surface sur laquelle l’appareil est placé doit être plane et horizontale. Ne pas utiliser de cadre ou autre support. L’appareil peut être installé comme unité indépendante le long d’un mur, être encas- tré dans un élément de cuisine, ou placé côte à...
-
Seite 13: Mise En Place
Les pièces intercalaires au dos de l’appa- reil sont là pour assurer la circulation d’air. Monter les deux caches livrés avec l’appa- reil (voir fig.5). Max. 85 kg. Fig. 7 fig. 5 Mise en place Il est important que l’appareil soit placé sur une surface parfaitement plane. -
Seite 14: Installazione E Messa In Funzione
Si riserva il diritto di modificare le specifiche 9193215 rev 06 Installazione e messa in funzione Collocazione Per motivi di sicurezza e di funzionamento, l’apparecchio non deve essere installato in esterni. L’apparecchio deve essere collocato su una superficie livellata in un locale secco e ben ventilato (max. - Seite 15 Installation È importante che l’apparecchio sia perfet- tamente livellato. L’apparecchio può essere livellato avvitando o svitando i piedini rego- labili sulla parte frontale dell’apparecchio stesso Utilizzare una livella a bolla per accertarsi che l’apparecchio sia perfettamente livellato in senso laterale. Ventilazione È...
-
Seite 16: Collocazione Dell'apparecchio
I distanziatori sul retro dell’apparecchio as- sicurano una circolazione dell’aria sufficien- te. Montare i due cappucci forniti assieme all’apparecchio come mostrato in fig. 5. (Due diversi modelli) Max. 85 kg. Fig. 7 fig. 5 Collocazione dell’apparecchio È importante che l’apparecchio sia perfet- tamente livellato.