
Verwandte Anleitungen für ESX VNC1061-DBJ-4G


Inhaltszusammenfassung für ESX VNC1061-DBJ-4G
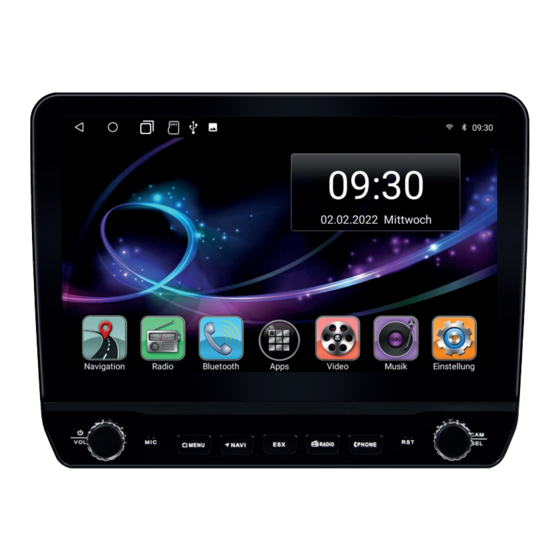
- Seite 1 VNC1061-DBJ-4G VN1061-DBJ-4G SMART NAVICEIVER MOBILE INTERNET READY V I S I O N A N D R O I D S E R I E S ™...
-
Seite 2: Recommended Tools
IMPORTANT NOTES This guide is an aid for the professional installation of the device. Please note the following notes before installation: • Always handle all parts of the device and the components of your vehicle with care. • Under all circumstances observe the regulations of the vehicle manufacturer and do not make any changes to the vehicle which could impair driving safety. - Seite 3 ESX Naviceiver. For example, after removing the original radio, the on-board electronics causes an error message and the mileage indicator starts flashing.
-
Seite 4: Scope Of Delivery
SCOPE OF DELIVERY ITEM FIGURE QUANTITY Main device Monitor MicroSD with Navigation Software (Only VNC models) ISO System Cable Set for Fiat Ducato Platform Please note this the information on page 3 AV cable set 1 (20-pin connector) USB ports (8-pin connector) 4G/LTE dongle (6-pin connector) - Seite 5 SCOPE OF DELIVERY ITEM FIGURE QUANTITY GPS antenna DAB antenna 4G/LTE antenna VNA-EB-DBJ-1DIN Installation set for Fiat Ducato platform VNA-ER-1DIN Metal mounting cage with screws VNA-LFB-FD6 Adapter for analoge steering wheel remote control VNA-ANT9 Antenna adapter...
- Seite 6 CONNECTION WiFi antenna 4G/LTE antenna DAB antenna System connection GPS antenna with device fuse Vehicle radio antenna or antenna adapter ISO system cable set Cable brown (BRAKE): Connection for handbrake signal (ground) Cable pink (BACK): Connection for reverse gear signal (+12V) Cable orange/gray (KEY1): Connection for steering wheel remote control (left) Cable brown/black (KEY2):...
- Seite 7 CONNECTION Input for the USB ports (8-pin connector, white) Please note the information from page 9 onwards. Not in use Input for the 4G/LTE dongle (6-pin connector, white) Please note the information from page 14 onwards. AV cable set 2 (10-pin connector, white) Cinch yellow (F-CAM): Video input for front or additional camera Cinch yellow (R-CAM):...
-
Seite 8: General Installation Instructions
GENERAL INSTALLATION INSTRUCTIONS GPS antenna Remove the foil on The GPS antenna should be glued horizontally to the dashboard the bottom of the with the adhesive side down. Reception is not possible with a met- GPS antenna al-coated pane. Choose a level spot with a clear view of the sky. The location should be about 50 - 70 cm away from the main unit, other- wise the GPS measurement accuracy will decrease. - Seite 9 werden. Verstärkereinheit GENERAL INSTALLATION INSTRUCTIONS DAB antenna Naviceiver/Radio – Warten Sie, bis die Glasober äche vollständig der Frontsäule. In newer vehicles, the original vehicle antenna can usually be used for both analogue and trocken ist, bevor Sie fortfahren. digital radio reception. The included DAB window antenna should only be used if you cannot –...
-
Seite 10: Installation Instructions
First, the two included retaining clips must out with light pressure from the fingers on be attached to the top of the back of the ESX Anschließend das Ablagefach in die Blende von vorne nach hinten einschieben bis es einrastet. - Seite 11 INSTALLATION INSTRUCTIONS Final installation in the radio bay After you have connected everything, insert the complete unit into the radio slot. First clip in the two lower latches and then the two upper latches. Make sure that all connections are locked securely.
- Seite 12 INSTALLATION INSTRUCTIONS Connecting the monitor Connect the monitor’s connector to the main unit. IMPORTANT: If the monitor does not work after connecting it to the main unit, the connection plug of the connecting cable may not be properly locked. Then pull the connection plug on the monitor away from the connection on the cable until it clicks into place without pressing the release button.
- Seite 13 CAMMERA SETTINGS When you put the car in reverse gear, the rear view camera connected to “R-CAM” can be seen with guide lines. To change the settings, tap the screen and then tap the gear icon that appears. If the view of your connected camera is displayed incorrectly or not at all, various settings can be made under “Camera”...
- Seite 14 SETUP THE 4G/LTE INTERNET CONNECTION First lay the two 4G/LTE antennas inside the dashboard towards the windshield, one antenna for the left and one for the right. Ideally, you should stick the antennas to the windshield to ensure optimal recep- tion.
- Seite 15 SETUP THE 4G/LTE INTERNET CONNECTION Then turn on the device to test the 4G/LTE connection. After the device has started, enter After successful entry, the SIM card is your 4-digit PIN code of the SIM card unlocked. If the device is successfully here.
- Seite 16 ESX Car Media Systems · Audio Design GmbH Am Breilingsweg 3 · D-76709 Kronau/Germany Tel. +49 7253 - 9465-0 · Fax +49 7253 - 946510 www.esxnavi.de - www.audiodesign.de © Alle Rechte vorbehalten. Technische Änderungen und Fehler vorbehalten.