Werbung
Quicklinks
Werbung

Verwandte Anleitungen für interlübke intaro


Inhaltszusammenfassung für interlübke intaro
- Seite 1 Montageanleitung Assembly instruction Stand: 10.01.2022...
- Seite 2 Bitte montieren Sie die Möbel nach den Hinweisen in It is imperative that the enclosed assembly instructions der Aufbauanleitung und den Aufklebern auf den and attached safety stickers are followed carefully. Möbeln. Beachten Sie auch die in der Aufbauanleitung Particular care must be taken to ensure that the condi- angegebenen Maße der Befestigungsmateralien.
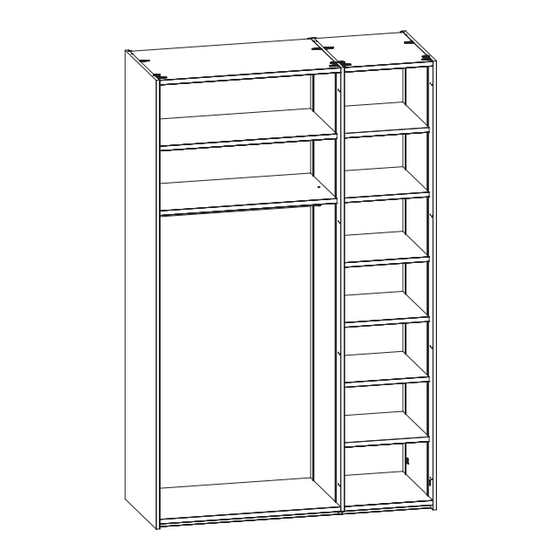
- Seite 3 Schrankelemente, Seiten wardrobe elements, walls...
- Seite 4 Schrankelemente, Ober- und Unterboden wardrobe elements, top shelf, base shelf SW 4 SW 4 M6 x 14 SW 4 SW 4 SW 4...
- Seite 5 Schrankelemente, Ober- und Unterboden wardrobe elements, top shelf, base shelf 8 x 50 4,8 x 25 SW 8 5,5 x 60 SW 4 SW 5...
- Seite 6 Schrankelemente, Einlegeböden wardrobe elements, shelves SW 4 M5 x 35 SW 4...
- Seite 7 Schrankelemente, Seiten wardrobe elements, walls...
- Seite 8 Schrankelemente, Ober- und Unterboden wardrobe elements, top shelf, base shelf SW 4 SW 4 M6 x 14 SW 4 SW 4 SW 4...
- Seite 9 Schrankelemente, Ober- und Unterboden wardrobe elements, top shelf, base shelf 8 x 50 4,8 x 25 SW 8 5,5 x 60 SW 4 SW 5...
- Seite 10 Beleuchtungssets für Schrankseitenbeleuchtung Verkabelung Grundset Lighting set for Cabinet side lighting basic power supply kit - EL03069 72W beidseitig LED - EL03530 30W einseitig LED EVG (Trafo) 24 Volt DC EL03069 72W EL03530 30W Türschaltung „bei Türen“...
- Seite 11 Beleuchtungssets für Schrankseitenbeleuchtung Funkschalter Lighting set for Cabinet side lighting radio-controlled switch Trafo Funk...
- Seite 12 Beleuchtungssets für Schrankseitenbeleuchtung weitere Elemente Lighting set for Cabinet side lighting high voltage - EL03069 72W beidseitig LED EVG (Trafo) - EL03530 30W einseitig LED EL03530 Verlängerung Hochvolt EL50110 4-fach Verteiler Hochvolt EL20100...
- Seite 13 Schrankelemente, Einlegeböden wardrobe elements, shelves SW 4 M5 x 35 SW 4...
- Seite 14 Zwischenseite dividing wall 4 x 12...
- Seite 15 Zwischenseite dividing wall t o m b o t e n / u n t...
- Seite 16 Zwischenseite dividing wall t o m b o t e n / u n t...
- Seite 17 Zwischenseite dividing wall...
- Seite 18 Die Kleiderstange zur Befestigung an Seiten. Clothes rail on side M6 x 30 SW 4...
- Seite 19 Bandmontage Drehtüren Assembly hinges Achtung! Obere und untere Grundplatte erst nach Montage der Ober- und Unter- boden montieren Attention! Upper and lower base plate should be fitted after assembly oft he upper and lower shelf gerade kröpfung gerade Tür links Doppeltür links...
- Seite 20 Montage Drehtüren Ausrichten der Türbänder Adjustment of hinges...
- Seite 21 Montage Drehtüren...
- Seite 22 Griffleiste Handle bar 3 x 13...
- Seite 23 DOT Griff DOT Handle M5 x 20 SW 3...
- Seite 24 Profilgriff Profile handle M4 x 28...
- Seite 25 Innenschubkästen...
- Seite 26 Innenschubkästen M4 x 20 SW 2,5 CLICK CLICK...
-
Seite 27: Schubkasten Ausrichten
Schubkasten Ausrichten Drawer adjustment Fugenbild ausrichten adjust joints CLICK option! - Seite 28 Ausziehbare Kleiderstange mit Abdeckboden Pull-out clothes rail with cover shelf...
- Seite 29 Ausziehbare Kleiderstange mit Abdeckboden Pull-out clothes rail with cover shelf M5 x 35 SW 4 CLICK CLICK...
- Seite 30 Auszugboden Pull-out shelf...
- Seite 31 Auszugboden Pull-out shelf 3,5 x 30 CLICK CLICK...
- Seite 32 Schuhaufsteller shoe display auf Einlegeboden auf Auszugboden...
- Seite 33 3,5 x 15 Der Innentürspiegel benötigt 70mm Kanten- abstand, wenn die Tür einen DOT- Griff hat!