
Verwandte Anleitungen für Ista Breeze 12V / 650W

Inhaltszusammenfassung für Ista Breeze 12V / 650W
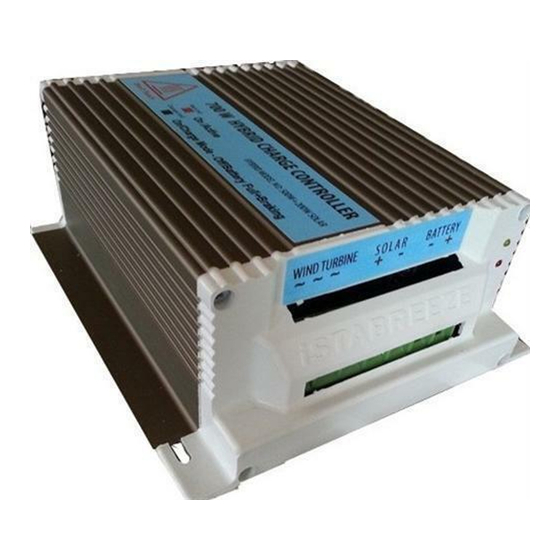
- Seite 1 New Generation / Neue Generation / Yeni Nesil 650W-850W HYBRID CONTROLLER USER MANUAL 650W-850W HYBRID LADEREGLER BENUTZERHANDBUCH 650W-850W HİBRİT ŞARJ KONTROL CİHAZI KULLANMA KILAVUZU...
-
Seite 2: Inhaltsverzeichnis
CONTENTS / INHALT / İÇİNDEKİLER ENGLISH Warning Description Features Speci cations Installation DEUTSCH Warnung Beschreibung Eigenschaften Technische Daten Installation TÜRKÇE Uyarı Tanım Özellikler Tanım ve Özellikler Kurulum... -
Seite 3: Warning
WARNING: The controller is just for battery charging. It can only directly connect to battery. Please note that + and - poles when the battery is connected. Connect in the same directions. You should never connect directly to any other devices such as inverters. In case of incorrect connection, devices may pose risk of re hazard. - Seite 4 (Battery Discharge) • ORANGE: When orange light is on it mean’s controller work (Battery Charge Mode) SPECIFICATION 12 V / 8 50W 24V / 850W 48V / 850W MODEL 12V / 650W 24V / 650W Rated Output Power 650W 650W 850W...
- Seite 5 INSTALLATION: The controller is designed to be mounted on a vertical wall Step 1: Connect the device as shown in battery, the battery cable connection, use a minimum thickness of 6mm². Please attention when you connect terminals, If connecting like +/+ and rigth, your controller will burn and it out of warranty.
- Seite 6 Emergency Stop Button (Short Circuit) Battery and Turbine installation with controller...
- Seite 7 Now connect the solar system, please adjust to connect the negative pole to negative pole and positive pole to positive pole. Emergency Stop Button (Short Circuit) Wiring diagram for an example That’s it. Installation is nished...
-
Seite 8: Warnung
Warnung: Der Laderegler ist nur zum Au aden einer Batterie gedacht. Schließen Sie den Laderegler niemals an einen Inverter an, da so Brandgefahr entstehen kann und Gefährlich ist. Beschreibung: Dieser Laderegler wandelt Wechselstrom in Gleichstrom um. Es ist eine kostengünstige Lösung für erneuerbare Energiesysteme. Sie können diesen Ladereger für alle 3-Phasen Windgeneratoren oder Wasserkraft Anlagen sowie Standard Solaranlagen benutzen. - Seite 9 Windgeschwindigkeit zu hoch ist Orangene Leuchtiode: Wenn diese an ist heißt es dass der Laderegler lädt.(Der Laderegler ist im Lademodus) 12V / 850W 24V / 850W 48V / 850W 12V / 650W 24V / 650W MODEL Nennausgangsleistung 6 50W 6 50W...
- Seite 10 Installation Den Laderegler können Sie an eine Wand befestigen. Schritt 1 Verbinden Sie den Laderegler sowie es auf der Batterie gezeigt wird. Verwenden Sie ein Kabelanschluss von mind. 6mm² für das anschließen des Ladereglers und der Batterie. Bitte passen Sie auf das Sie die Gleichen Pole anklemmen, das heißt Minuspol zu Minuspol und Pluspol zu Pluspol.
- Seite 11 Notfall Halt Taste (Kurzschluss) Batterie - und Turbineninstallation mit Controller Notfall Halt Taste (Kurzschluss) Schaltplan Beispiel Das war`s schon !! Die Installation ist Abgeschlossen.
- Seite 12 UYARI: Bu arj kontrol cihazı sadece batarya arj etmek içindir. Kurulum sırasında ilk önce; arj kontrol cihazınızı akünüze bağlayınız. Akü bağlantısı yapılır- ken lütfen + ve – kutuplarına dikkat ediniz. Aynı yönlerde bağlantıyı ya- pınız, yanlı bağlantı durumunda cihazınız yanar. Sadece doğrudan bataryaya bağlayabilirsiniz.
-
Seite 13: Teknik Özellikler
Turuncu: Turuncu yanıyorsa sistem aktif demektir. ( arj olmaya müsait) TEKNİK ÖZELLİKLER 48 V / 8 50W 24V / 650W 12V / 8 50W 24V / 8 50W MODEL 12V / 650W Nominal çıkı gücü 65 0W 6 50W 850W 850W... -
Seite 14: Tanım Ve Özellikler
Kurulum Tanım ve özellikleri Bu sarj kontrol cihazi duvara monte edebileceginiz sekilde tasarlanmı tır. 1. Adim: Sekilde gösterildigi gibi bataryanizi cihaza baglayiniz. Batarya baglantisinda en az 6mm² kalinliginda kablo kullanmaya özen gösteriniz. Bataryanin pozitif ve negatif uclarina dikkat ediniz. 2. Adim: Sekilde gösterildigi gibi rüzgar türbininden gelen 3 kabloyu cihaza baglayiniz. - Seite 15 Acil Fren Butonu (Kısa Devre) Türbin ve bataryanın arj kontrol cihazı ile örnek bağlantı eması Acil Fren Butonu (Kısa Devre) Örnek bağlantı eması İ te bu kadar! Kurulumu tamamladınız...