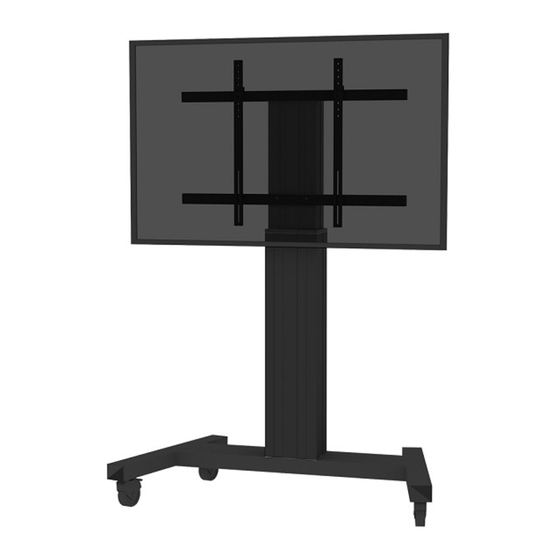
Werbung
Quicklinks
900 mm
1035 mm
PLASMA-M2250
PLASMA-W2250
PLASMA-M2500(T)
PLASMA-W2500
EN
Floor stand
NL
Vloersteun
DE
Bodenständer
FR
Support au sol
IT
Supporto da pavimento
ES
Soporte de suelo
PT
Suporte de chão
DK
Gulvstander
INSTRUCTION MANUAL
890 mm
1035 mm
735 mm
BLACK/SILVER
BLACK/SILVER
BLACK/SILVER
BLACK/SILVER
NO
Gulv stativ
SE
Golvstativ
FI
Lattiateline
PL
Stojak podłogowy
CS
Podlahový stojan
SK
Podlahový stojan
RO
Stativ pentru podea
860 mm
165 mm
420 mm
100 mm
735 mm
1035 mm
WWW.NEOMOUNTS.COM
420 m
100 mm
Werbung

Inhaltszusammenfassung für NeoMounts PLASMA-M2250
- Seite 1 860 mm 420 m 890 mm 165 mm 420 mm 900 mm 100 mm 100 mm 1035 mm 735 mm 1035 mm 735 mm 1035 mm PLASMA-M2250 BLACK/SILVER PLASMA-W2250 BLACK/SILVER PLASMA-M2500(T) BLACK/SILVER PLASMA-W2500 BLACK/SILVER Floor stand Gulv stativ Vloersteun Golvstativ Bodenständer...
- Seite 2 Tape measure Bevestig de beugels (C) aan het scherm (I/J), bevestig ze aan de steun en zet ze vast met het “lift&lock” systeem PLASMA-M2250 Bringen Sie die Halterungen (C) am Display (I/J) an, befestigen Sie sie am BLACK/SILVER Bodenständer und sichern Sie sie mit dem “lift&lock”-System...
-
Seite 3: Front View
STEP 3 Attach the brackets (B) to the display (H/I), attach them to the mount and secure them with the “lift&lock” system Tool Pencil Drill Tape measure Bevestig de beugels (B) aan het scherm (H/I), bevestig ze aan de steun en zet ze vast met het “lift&lock”... - Seite 4 STEP 3 Attach the brackets (B) to the display (G/H), attach them to the mount and secure them (F) Tool Pencil Drill Tape measure Bevestig de beugels (B) aan het scherm (G/H), bevestig ze aan de steun en zet ze vast (F) PLASMA-M2500T Bringen Sie die Halterungen (B) am Display (G/H) an, befestigen Sie sie am BLACK/SILVER...
- Seite 5 STEP 3 Attach the brackets (C) to the display (K/L), attach them to the mount and secure them with the “lift&lock” system Tool Pencil Tool Pencil Drill Tape measure Drill Tape measure Bevestig de beugels (C) aan het scherm (K/L), bevestig ze aan de steun en zet ze vast met het “lift&lock”...
- Seite 6 STEP 3 Attach the brackets (B) to the display (L/M), attach them to the mount and secure them with the “lift&lock” system Tool Pencil Tool Pencil Drill Tape measure Drill Tape measure Bevestig de beugels (B) aan het scherm (L/M), bevestig ze aan de steun en zet ze vast met het “lift&lock”...
- Seite 8 IMPORTANT HAZARD & SAFETY NOTES GEFAREN- & SICHERHEITSHINWEISE Please carefully read the below hazard and safety notes before using the height adjustment unit. Lesen Sie die nachfolgenden Gefahren- & Sicherheitshinweise vor der Verwendung der Höhenverstellungseinheit sorgfältig durch. This contributes to make the unit work failure-free and avoids accidents. Dies trägt dazu bei, dass die Einheit störungsfrei funktioniert und Unfälle vermieden werden.


